The Discovery feature is responsible for scanning networks and detecting devices. In Multisite Monitoring you can create as many discoveries as you like and even schedule them.
To scan your network using Discovery, go to Multisite Monitoring > Network Management > Discovery.
Menu – Discovery
This interface will display a list of all discoveries already added and scheduled. To create a new one, click the add button.
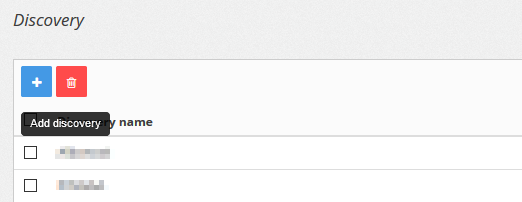
Add Discovery
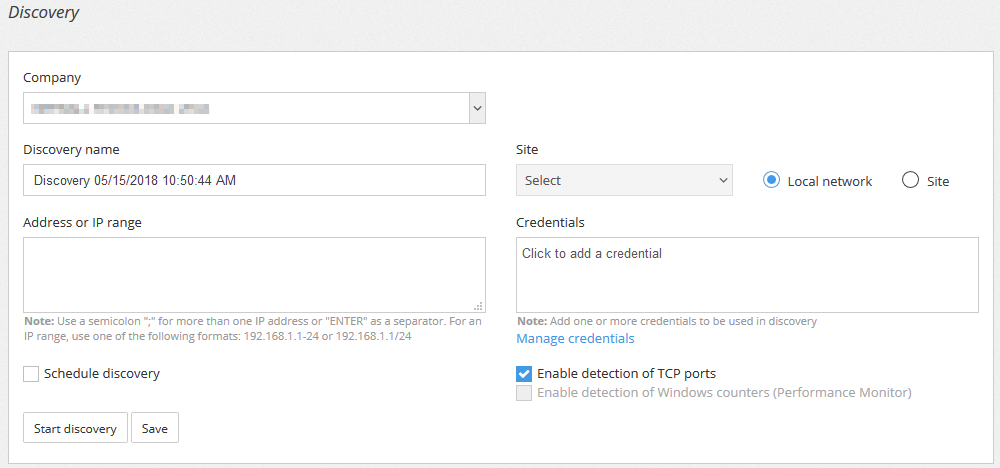
Discovery configuration
Some requirements are needed to run the Discovery, as follows:
- Discovery name: The default is filled out with the date and time of register, but you can change the name.
- Site: Here you can choose whether the scan will be done locally or on a remote network via the Unit Site.
- Address or IP range: In this field you must inform the networks or IP addresses with which the Discovery will detect the devices. Use a semicolon “;” for more than one IP address or “ENTER” as a separator. For an IP range, use one of the following formats: 192.168.1.1-24 or 192.168.1.1/24
- Credentials: They are required for the Discovery to detect items within the device that was found. For example, if the Discovery detects a device with SNMP, it uses the chosen SNMP credential to detect the items that can be monitored within that device.
- Schedule discovery: This feature allows you to schedule a specific date and time for the execution, because the scan, depending on the amount of items, can affect the performance of your network. Besides scheduling, you can add a recurrence to run a specific discovery repeatedly and check whether new items or devices have been found.
- Enable detection of TCP ports: This option allows the Discovery to scan open TCP ports for each detected device.
- Enable detection of Windows counters (Performance Monitor): When the Discovery detects devices with Windows operating system using Agent credentials, it will list all Windows performance counters avaliable for those devices. This option may cause the Discovery to be slower, but it will bring much more details from Windows devices.
After filling out these fields, you can execute the Discovery by pressing the “Start Discovery” button, or you can save it via the “Save” button if you have the schedule option enabled.
The results will be grouped by device (device name and IP address) and by expanding the device, the items groups detected and their counters will be displayed.
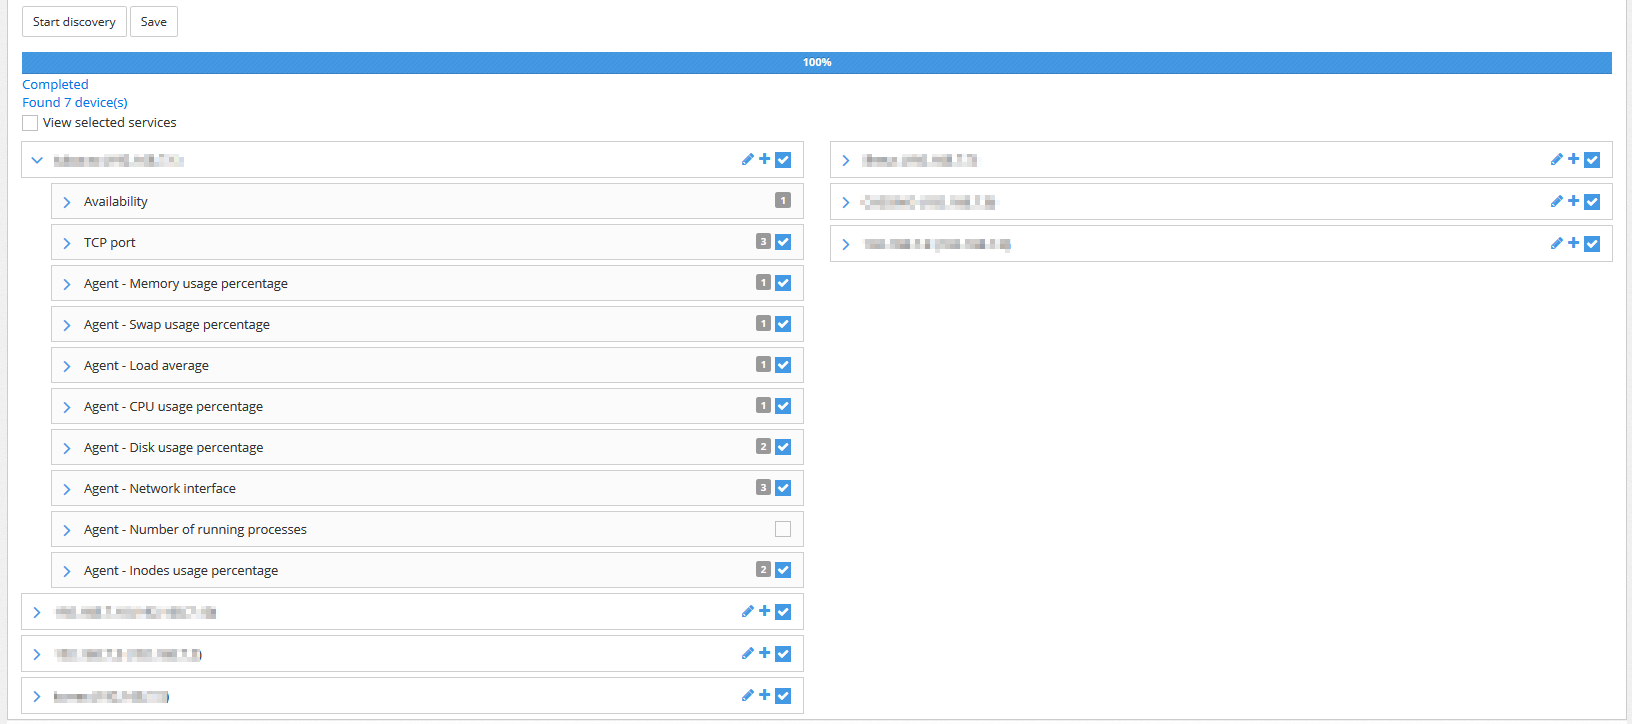
The system will bring the most important items already checked. These markups are suggestions and you can change these items in this step.
Besides checking and unchecking the item to be monitored, you can also edit it by clicking the “Edit” button on the right side of the service.
After finishing these steps, click “Save” and the system will start monitoring your devices.